Pressing Nodes
First question, what is the proper way to press nodes. Now, talk about subjective...
if you ask a dozen rodmaker, professional and hobbyist, you'll get a dozen answers.
So, which answer is right, whose method is the right method? Well, to tell you the
truth, they're all right. I have a very good friend, a well known rodmaker, who has
been making rods for almost 60 years, and the one way he has told me time after time is
"There are a lot of right ways to make rods". Some methods are just easier than others.
Method is what this page is all about. This is one method, my method, of pressing nodes.
Now, this works well for me, and I find it easy, fast and consistent, but that doesn't
mean it's necessarily the right way for YOU, although I hope you find something on this
page that makes your life in the shop a little easier
The first thing you need to do is split your strips. I'm not going to go into methods of splitting, although they are as
numerous as the methods of pressing nodes. I will usually have anywhere from 20 to 100 strips ready to press the nodes on before
I start the day.
Next is "get comfortable". You're going to be there awhile, so you may as well get a nice chair, and a cup of coffee and get
ready to settle in and get in the "Node Mode" for awhile.
Let's start this "pictoral tutoruial" with a picture of the node, slightly sanded and ready to press.
Pressing Nodes seems to be a nasty subject, especially among young rodmakers.
Honest guys, they really aren't that bad. While they may be somewhat intimidating,
if done properly, they aren't that difficult.
I sand the nodes, but not as agressively as many. I know many of the books say to sand the ring completely out of the node, but that will be sanded or filed off in later steps, so I leave as much material as possible in the nodes when I initially sand them. I sand the nodes the disk side of a belt sander, bending the enamel side of the strip towards the disk, touching it lightly with a rocking motion, up and down. This helps me maintain the natural radius of the strip. Many makers file nodes before they split, and that is perfectly acceptable. Like I said, there are a hundred right ways to do things.
The next step is heating the node. Again, the methods are varied, and most all of them are right, but here's my tool. This is a really cheap heat gun that I bought at a popular hardware store probably 10 years ago. Before I got this one, I had a very expensive heat shrink gun, that lasted all of a year. This little $20 heat gun has been a great tool.
I have the strip suspended above the heat gun with a little jig I made of plywood. It's nothing more than a cradle... two pieces of upright plywood with square notch cut in each, and mounted on another board. The only purpose of this is to hold the strip being heated so I can work on other strips. This lets me more effiently work with two or more strips at a time. I heat the strips at a moderate rate insuring that I don't char the strip. I want no more than a very slight browning of the pith side of the strip when I pull it from the cradle to the vise. I generally use about a 500° setting on my heat gun with the strip about 2 to 2 1/2 inches above the nozzle on the heat gun. This gives me plenty of time to remove a strip from the heat, place it in the vise, place another strip on the cradle to be heated and dress the node. By the time I've done this, the strip on the cradle will be hot enough to be pliable and pressable, and you can move it from the heat to the vise. I'd strongly suggest that, until you get a routine down using this method, that you lower your heat to about 300°. This will slow down the process quite a bit and give you plenty of time to work the nodes while the next node heats, without burning a strip.
When the strip is hot and pliable, it's time to move it to the vise.
The first position in the vise is to staighten the strip and the little kinks it has at the nodes. Simply put the strip in the vice with enough pressure to straighten the kinks and let it sit for just a few seconds. Do NOT wait for the strip to cool in this position. After a few seconds, loosen the vise, rotate the strip 90° so the the pith and enamel sides of the strip are against the vise jaws and again, apply enough pressure to flatten the node, but do NOT try to "over press" the node. Just flatten it enough to get it down to the level of the vise jaws. You can see in my vise, I have a narrow groove filed in the jaws and I place the enamel side of the strip to that groove. I center the node in that gap, and instead of crushing fibers, I'm displacing them, ever so slightly. I only use enough pressure to displace the node .010" or so above the plane of the strip.
While the node is in the vise, it's time to grab another sanded strip and put it in the cradle over the heat gun.
Next the node must be dressed.
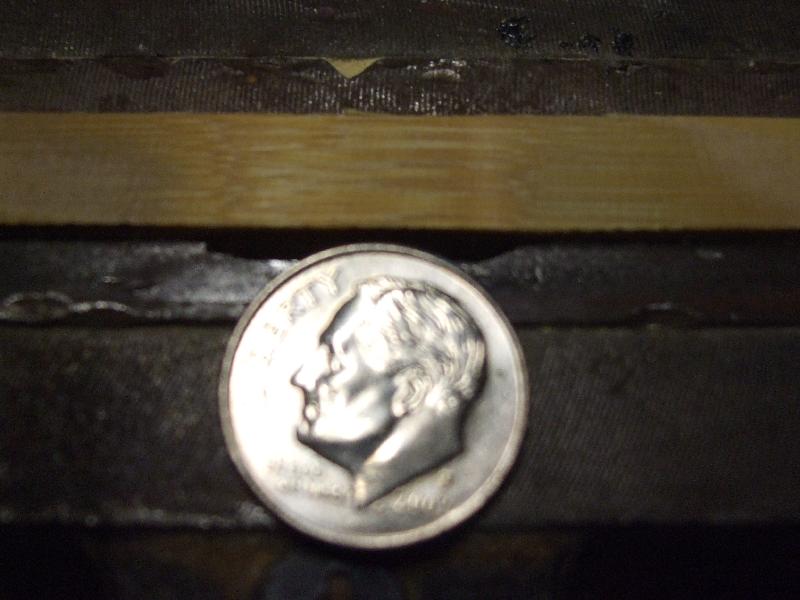
This is what the node will look like after final dressing. You can see here that the entire length of the node is less than the width of a dime. This is where consistency comes in with this method. If you center each node on the groove in the vise and press them and dress them the same way, then what you'll end up with is every node on every strip on every rod being exactly the same length. Of course, things may change slightly during final sanding, but getting a consistent node width at the beginning is important, at least to me.
Good luck with your pressing and straightening, and as always, if anyone has any questions about the way I press nodes, feel free to email or call and I'll help in any way I can.
Tight Lines,
Bob